Showing posts with label techniques. Show all posts

Thursday, June 5, 2014

Wire Crochet: Round One

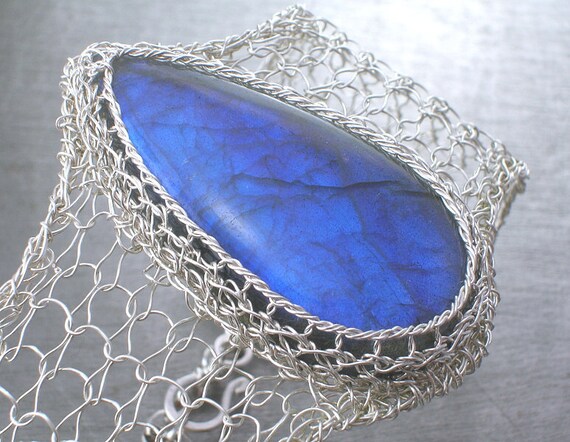
A while ago I stumbled across this great tutorial for learning how to crochet with wire. It makes it look so easy, and I already had some ideas on how I could use the technique for jewelry. Before we dig into what I learned though, here' are a few reasons I wanted to learn.


I will say that the tutorial is deceptively simple. It's thorough and easy to follow, which I love. It’s a simple matter of hook, twist and pull.  There were two things that weren't addressed though which left me frustrated.

The first is that when you try to pull the wire through the loop, it has a tendency to slip away. It gets away from the hook, and doesn't want to come back. I think this one can be fixed with practice, although I'm not certain yet.

The second is that unless you're lucky, the holes seem to vary  in both size and level of kink. I want to say this can be fixed with practice, but I'm just not sure. Despite hunting all over the internet, I had no luck finding someone who could answer these questions for me. I suppose I"ll have to keep practicing, and put together a trouble shooting guide on my own for everyone else. (I can't be the only one having these problems right?)

Tuesday, April 1, 2014

Book Review: Kumihimo


BRM-April14

Title: Kumihimo Wire Jewelry

Author:  Gionvanna Imperia 

Pictures: 10/10
Clarity of Instruction: 10/10

Complexity: 8/10

Overall Score: 10/10


Thoughts on the book.

I really enjoyed reading through this book. Not only does it start off with a bit of history about Kumihimo, but it explains the why behind different tools that are used. It also shows how different tools and patterns are used in conjunction to create specific pieces.  The instructions, for me at least, were exceedingly easy to follow, and it pointed out many things that I hadn't considered prior to reading this book. Ways to remind yourself of where you left off if you have to stop in the middle of a piece.  Figuring out how to create new patterns (which there are now a few sitting in my design journal...) It also made sure that for every pattern that was shown, there was an example of what could be done with it, as well as a close up shot of the weave done in thread, to see how tight/open it is naturally.

Regarding the complexity, I have to say that it does look a bit intimidating at first, and there are a bunch of things that are considered ‘specialized’. I’m sure though that with a bit of ingenuity you could find the majority of it around the house, or a way to rig something together that will allow you to do the same work without having to spend a large amount of money. That’s just the tools though. The work itself only /looks/ intimidating. If you follow along with the patterns and the way the diagrams are laid out, it’s easy to follow along and find a rhythm.

This is a book I plan on not only purchasing but also working into regular use in my own work.


Do you have any thoughts on this book? Feel free to comment below. :)

Wednesday, March 19, 2014

Mokume Gane- My way.

So I don't know if you've noticed, but the metalsmithing technique of mokume gane (literally 'wood eye metal' or 'wood grain metal') is popping up all over the place as a polymer clay technique. Once again, Pinterest is completely to blame for showing me this. 

First, some quick pieces that made me drool and started the itch to make things.


Looking at all of these, I think the biggest thing that makes them appeal to me is vibrant colors and contrast. I've seen plenty that should in theory work, the color palette looks nice on it's own. For some reason though, the resulting slices just never look nice?

In the event that you're now as interested as I am and want to try out making something like this, I'll give you a step by step.

1) Pick out your clay. I wouldn't choose more than 3 colors personally. Pick ones with a lot of contrast between them.

2) Roll each of these out to an equal thickness. If you have a pasta machine, I'd set it to medium , whatever that may be. (I rolled mine out to about 1/8" each at first.

3) Slice each of these layers into squares/rectangles. Now, layer those squares A, B, C.

4) Run over the top lightly with a brayer (or if you're me a copper pipe), until the layers are just stuck together.

5) Slice the entire thing in half widthwise. Lay one half on top of the other. Your pattern should go ABC ABC.

6) Repeat this once more. From what I've seen and what poking around I've been able to do, if you have more than 24 layers (give or take) you don't seem to get as much definition between the individual colors.

7) Now, grab a few things from around your workbench. Me, I've got a pen, a screw, a knife, and a wavy bit of heavy gauge wire. Stab the top of your stack! Stab it a lot ! :D

8) Now that you're done taking out pent up frustration on the block, set aside your tools, and squish the block back together, so it roughly resembles a rectangle/square again.

9) Take a floor stripper, tissue blade or x-acto knife and begin to cut away slices from the top, and set them aside. I used an x-acto and got lots of small, thin slices. If you're looking for a more solid slice, I'd go with a larger blade, a la the floor stripper or tissue blade.

10) Take your slices and turn them into jewelry or house decor, have fun!

At some point, I'll be taking pictures of my first set of finished pendants and plunking them in here for ya'll to see.  I hope you enjoyed this post, and the technique!

Feel free to comment below :D

Wednesday, March 12, 2014

Alcohol Ink & Polymer Clay- A Guide-


Alcohol Ink Guide

As I mentioned last week, when I was recounting the perils of polymer clay, I originally started looking at polymer clay specifically for working with alcohol inks. I was first astounded by the lovely Veronika Sturdy over on Flickr with her work. It’s detailed and colorful and leaves me wanting to make LOTS of stuff!

And so I went hunting, to see if I could find out a) How to make my own alcohol ink and b) how to make something so vibrant and beautiful.

The first part was easy enough to find, over at Crafting a Green World, I read the tut, and quickly ran around my home looking for a bag of markers I’d stashed. Et voila! 30 mins later, I had a bunch of alcohol inks. But…. How do you use them?

Well, I found two lovely tutorials.

The first lets you make something like this

Except… you have to have liquid polymer clay. Which I don’t have access to for the time being… Hrm. Back to the internet. Which led to the second one.
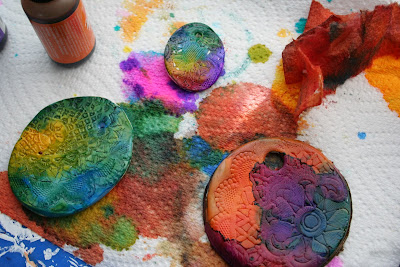
A very lovely tut, easy simple to follow, and best of all, only two things were required, and I had both! Polymer clay and alcohol ink. Open-mouthed smile 

But… It’s not quite as vibrant as the lovely ones that Veronika Sturdy attains…
So I decided to  do tests first.  I had to make sure that it would work.  And that is what this post comes from. My tests of alcohol ink vs polymer clay.

First up, we have Alcohol Ink, painted directly to UNCURED clay.

SAM_0529SAM_0531

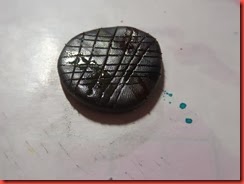
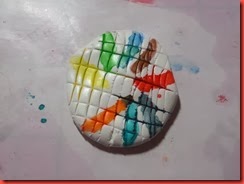
I used the same technique for both the white and the black pieces. Just a simple stripe of the different colors, going around the piece. I tried to make sure they didn’t bleed, but wasn’t 100% successful.

SAM_0532ISAM_0533

The row below is the pieces after they were baked. The colors of the inks became a little bit lighter, but not by much. The black has an iridescent look to it, which is hard to see unless you get the angle just right, and even harder to capture on camera.
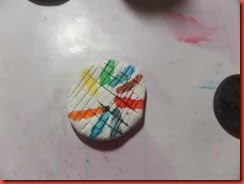
SAM_0534SAM_0535

These next three photos are tests of CURED clay that was then painted. (The black ink didn’t change a bit, and I decided not to waste your time trying to see what wasn’t there. =sighs= I was so hoping for a beautiful black shimmer bangle…)

SAM_0536SAM_0537SAM_0538

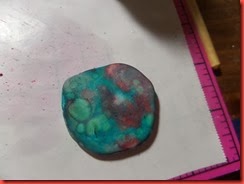
The first two are the same side, just with a wait time in between them. You can see how much more vibrant the colors are when done this way, but also how much more they bleed into one another through the groves O.O  The back is just a fun piece I did, testing out the splatter technique I see everyone doing on glass. Surprisingly it does work, but the colors are rather muddy.

SAM_0539SAM_0540

These last two photos are, believe it or not, taken just two hours after the first three. What happened? I was rubbing the pieces back and forth in my hands. Apparently without some sort of sealant the colors will rub away except in the deepest spots. Such as the groves of the piece on the left. However, I do like how the edges (?) are shown with the wearing away  on the right.


So, that is my tests on alcohol inks, and how they work when applied to polymer clay. I’ll be back with more soon enough. ^^

Ideas? Comments? Questions? Comment below Open-mouthed smile