Showing posts with label Glass Eternal. Show all posts

Monday, September 1, 2014

Book Review: The Art of Enameling

Title: The Art of Enameling: Techniques, Projects, Inspiration
Author: Linda Darty

Pictures: 8/10
Clarity of Instruction: 7/10

Complexity: 8/10
Overall Score: 8/10

This book to me felt sort of... run together. Everything was one after another after another. It didn't really give you any room to think, to breathe and digest what you' had just learned. Maybe it's just me, but I find that problematic. 

On the other hand, this book did give me a lot of hope, because it went into detail on how to use a torch to fire enamel, rather than just a kiln. At this point, I'm working with a Max Flame micro torch, and loving it. This book (along with a separate article over at beadingdaily.com ) helped me figure out that I really could use the torch for enamel work, if I was willing to think about how it could be done. It also put me in mind of doing some really detailed pieces, combining chasing and enamel work, with an oriental or middle eastern flair. Who knows, maybe I'll do both some day...after I have a kiln mind you. Because that's the thing I didn't know up till now. I thought you had to keep your piece /still/ when you were firing it, but with a torch, according to this book anyway, you can't do that. You have to move it around to allow for even heating. I'll cover more about torch fire and enamels another day though.
 
This book is also an odd combination of art gallery and historian. Along the tops and sides of most of the pages there are pictures of enamel work, in all different styles and complexity levels. The work is...stunning. I could spend hours just looking at this and drawing ideas. I just might do that anyway ;). Each of these mini galleries though has to do with what's being discussed on that particular page, with the exception of the pieces shown off at the beginning during the tools explanation. It allows you, or at least me, to see and think "  ok, this is some examples of what /can/ be done with this technique their telling me about....now how could I use it?"

As to the historical bit, there are sections and pages throughout the book that talk about how enameling has been done throughout the ages. One page discusses the processing of enamels, quoted directly from a 12th century German monk. Another shows samples of painted enamel pieces of the likes of Lady Russel, and the Duke of Nevers. I loved reading these sections, it made me think of the way some teachers will share interesting side notes. Things that still have to do with your topic, but maybe you wouldn't have known or learned otherwise. 

So, to cap it all off, if you don't mind a fast paced book, this really is a good book to take you through learning about enamels. Heck, even if you don't read it you can look at the gallery shots and get ideas from that...but seriously, you should read it, otherwise you might end up doing things like I did, and finding out that quenching after firing is a baaaaaaad idea. 

Do you have any thoughts on this book? Feel free to comment below. :) 


Tuesday, July 1, 2014

Book Review: Torch-Fired Enamel Jewelry

Title: Torch-Fired Enamel Jewelry: A Workshop in Painting with Fire
Author:  Barbara Lewis 

Pictures: 8/10
Clarity of Instruction: 7/10

Complexity: 7/10
Overall Score: 8/10
It took me eons to get my hands on this book, but it was well worth the wait. I love playing with fire, and my Max Flame torch is my best friend. <3 I try to find a way to use it for almost every piece of jewelry I make, in some way shape or form, simply because I love playing with fire. It doesn't often turn out that I can just yet, but I try. This book, kicked that into overdrive.
The 'getting started' section covers things I never would've considered, including etching copper sheet, and what the author calls 'hot riveting'. The etching...I don't even want to think about the money I'd have to sink into it, but I admit, I am very interesting in trying that one day. As to the hot riveting, sadly, with my microtorch, it's just not possible. The flame is simply too big. I'll have to upgrade to MAPP at some point.. probably when I get an actual workshop ;) The color play in this book is lovely, and the projects are interesting. I admit, most of them are not to my personal style, on the flip side though, that doesn't mean there is a single project in here that I wouldn't attempt. Just flipping through this book has me scrambling for my sketch book so that I can draw out ideas and make color notes, things I want to try.
One of the things I found really interesting to learn is that enamel doesn't mix like paints do. Which, yeah, in retrospect makes total sense. It's made of glass particles, why would it mix like a liquid? (Paint does count as a liquid right?) So what do you do if you can't find the shade you really really want? Get a transparent enamel. This was the most stunning advice I'd ever found. The idea is that the transparent holds a.. a  'ghost' of the color. Hmm, that's not the clearest way to explain that. Try this:  Say you want to make a green pendant, but you don't have any. You do have blue and yellow though. If you layer a blue enamel, and then overlay it with yellow, you'll get speckles. Looks pretty, sure. But it's not what you wanted is it? If however you take a blue enamel, and fire a transparent yellow over it, you will get a green. I can't vouch for what green yet, because I don't have any transparent enamels. ^^ I'll have to test that out at some point in the future for ya'll though. 
This book is... possibly one of the coolest books I've found. I love the ideas that I've learned from reading it, and I cannot wait to expand my enamels so that I can work with it even more.  One idea that I'd love to try out someday, that this book inspired was a series of necklaces, one for every month, with a different enameled flower for that month.
One thing that isn't covered within the book, but is mentioned on the author's webpage: Thompson Enamels does NOT sell their enamels in 3oz packages as is suggested in the book. You have your options of 1oz sample packs, 2oz or 8oz for individual colors. This is important to keep in mind, as 3oz really does make a big difference. However, if you're going to get into this, you have two options that I could hunt down. 1) You can buy from the Painting with Fire studio. Their colors are SO much better organized than Thompsons, in my opinion. (I admit though, that could be because of my browser.) 2) Is that you can buy directly from Thompson Enamels. The upside, you can get it directly from the manufacturer, and any blame can be placed directly at their feet.  Both of these have their upsides and their downsides. Choose for yourself based on what you think you can afford.
** An interesting note that I learned is that colors like red, orange and yellow are often more expensive because they will have some amount of gold in them.
I will add a disclaimer as a final note. In this book the author states that micro torches do not get hot enough to work with enamel. However, after reading this article, I was willing to take the risk and see if it was possible. For this post I'll leave it at this, it IS possible, if you're careful and you're willing to make mistakes at first.
Do you have any thoughts on this book? Feel free to comment below. :)


Sunday, June 1, 2014

Book Review: Kumi

Title: 'Kumi' Braiding with Beads, Thread, Yarn, Cords
Author: Suzanne MCNeil
 
Pictures: 6/10
Clarity of Instruction: 9/10
Complexity: 4/10
Overall Score: 7/10
This is actually the shortest book I've reviewed to date, with  a grand total of 19 pages! Oh me oh my, whatever will I do with such a ginormous book!? 
While I haven't had a chance to test any of these projects out yet, I can tell you this much, they look really easy, and really fast. Since I make a good amount of pendants that I just don't know what to do with, I love the idea of being able to string them on cords I've made myself. The instructions are clear and easy to follow and it looks like once you get the hang of it you'll be able to work for hours without needing to really pay attention to the work.  Perhaps I am merely uninitiated, but it appears to me as though they all work off the same pattern, and the book only shows you different color combinations and how to arrange themm on the wheel so that your cord ends up looking a certain way. This isn't necessarily a bad thing.
I also like the tips that are given at the front, such as accounting for how much thread you need versus how much cord you're going to get. If you want a 20" necklace, you apparently need to have 60" of each color of thread/cord. The only thing set forward by the book that I don't agree with is the idea of not using it with wire. It states that because the braiding wheel is made of foam that the wire will cut it. I could be wrong, but I believe that using annealed wire to do this would make a very nice cord, and still leave the wheel intact....in fact I do believe I'll try that and get back to ya'll at some point. 
On a side note? While I am all for making things on your own, and not spending money if you don't have to, I don't suggest trying to make one of the boards....I cannot imagine that it would turn out right. Unless of course you are super precise and far better at figuring out how to make this sort of thing than I am.
Do you have any thoughts on this book? Feel free to comment below. :) 


Thursday, May 1, 2014

Book Review: The Workbench Guide to Jewelry Techniques

Title: The Workbench Guide to Jewelry Techniques
Author: Anastasia Young
 
Pictures: 10/10
Clarity of Instruction: 8/10 
Complexity: 1/10 -10/10
Overall Score: 9/10
Let me start off with, I LOVED this book. Now that we've got that out of the way, I'll do my best to explain why. The book is divided into 6 sections. There's a brief history of jewelry at the very beginning with beautiful photos of jewelry from around the world, throughout time. After that begins the actual chapters. Chapter 1 is Work Space, Tools and Materials. I loved this section because it really went into depth on everything you should have when starting off, and then everything else you /could/ have. The info on the different materials was great to read, very easy to follow along with, and I learned quite a bit in this section alone. 

Chapter two is all about Techniques, and here is the only place the book had me ever so slightly confused confused. There would be times, such as when I was reading the enameling section, or reading about making rings, where it would use a term that the book assumed you would know, and yet it's not explained anywhere. 

On the other hand, there were tons of sections that I, being the ditz I can be at times ><, never would have considered including. Examples? Bending acrylic and making catches. It simply never would have crossed my mind. The techniques section is both very indepth and manages to cover a broad range of topics, while also giving only a small amount of information. Each technique is only given two to three pages, but within those pages, there's a wealth of information and at least one series of beautiful pictures. The techniques also range from the 'basic' such as working on a wire jig, or stringing, on over to the 'complex' like chasing and repousse or enameling. 

The third chapter is all about Design. I admit, being self taught the idea of designing a piece of jewelry from start to finish is rather daunting to me. The idea though of making samples and keeping detailed notes on how you came up with something isn't new, but the concept of technical diagrams certainly was. Even though I took drafting in school, I never thought to apply that to my work now. The things you learn.. 
Chapter four is all about going into business, and is one of the shortest chapters in the book.  My favorite section in this chapter was on Photography and the different effects that can be obtained, not to mention how to photography shiny surfaces.  (I admit, I am not the best when it comes to photography.)  The only section I had issue for in this was the pricing. It was more words and 'general' ideas than examples that could actually help you get a working idea for it. (and that's after taking into consideration that jewelry is a very broad range of prices.) 

Chapter five is the reference section, I really enjoyed reading this section, especially the suppliers and galleries listings. 

Final thoughts: Like I said at the beginning, I loved this book. Most undoubtedly, when I get the chance I am buying it and it is going to be a constant companion near my workbench. I highly suggest it for anyone of any level of work. 
Do you have any thoughts on this book? Feel free to comment below. :) 


Friday, March 7, 2014

Chronicles of Elantra

All over the internet, people are constantly looking for inspiration, and where to get new ideas. This includes yours truly. There are some days when   I can't step away from my notebook, for all the designs that are coming to me. And then there are other days when, I can't think of a blessed thing. So when those days happen, I go back to one of my old standbys. Reading, playing a game or watching some tv. Why? Because I get ideas from watching the characters. What personifies them? What would look good with this outfit they're wearing? i ask these things and the ideas start to come, even if they are still slow as molasses. It doesn't matter if I can make the pieces with the supplies I have on hand or not, what matters is that I'm coming up with designs.
Since that's the case, and I'm all for talking about geeky things, I figured I'd do a post every week with whatever I'm reading/playing/watching and the designs that came out of it. Why? Because it's good practice for me, and it could be fun to discuss it with others :D
I wanted to use  one of my favorite book series, the Chronicles of Elantra.
The first book is called Cast in Shadow, and it's a fast paced, head twisting novel that never ceases to amaze me.
(Go ahead and click the picture, you’ll get a great description of the book Open-mouthed smile)
This series is so..complex and layered that I end up finding something new every time I read it again. It's also been so well liked by friends that I've given away the first book three different times. T.T I still need to pick up a new one....
The good news about the series being so complex, is that every time I read it, I can spend some time figuring out new jewelry for the different characters in any given situation. So that'll be the post for next week, this week is just a sort of 'heads up' for something new coming ;). I'll be putting these up once a week, probably on Fridays and see how things go.
What do ya'll think? Sound interesting? Boring? Have some ideas for things I could design for? Comment below!


Thursday, March 6, 2014

Kumihimo and Wire

Next month's book review is going to be "Kumhimo with Wire" (I know, I know, I can't believe I'm telling ya'll early! ;) but this post doesn't really work without ya'll knowing.)  So as I was reading the book, I really, really wanted to try out some of the experiments in the book. This is the troubles and tribulations I faced while doing it. And boy are they a doozy!
My first thought was to try and use painter's tape and the copper pipes I have to wrap the wire around and keep them out of my way while I'm working. Yeah. That failed. The pipes were to heavy in comparison to the wire, and so the wire just sproinged off and made these beautiful slinkies that would've gotten tangled quicker than I could say 'Rapunzel'. 
So the next idea was to again use the painter's tape and adhere the wire to empty medicine bottles I use for bead storage... that looked like it was going to work. Until I put the board on my knees and again Sprrooing!  =sighs= 
Round three, Mia vs the wire. This time, I'm going to anneal the wire (as much as possible considering I've got the ends of the 8 pieces twisted together). Then wrap it around bobbins. Hopefully this will work. 
 So far so good, I've got the wire semi-annealed and wrapped around the bobbins, and I'm already making notes on how to better go about this next time. Unfortunately this takes so much fuel!
Once again I've hit a wall.
Unlike with thread, the wire doesn't want to stay next to each other, it doesn't want to be close to it's buddies and actually look like a cord. So I need to figure out someway to fix this. For now, I'm cutting the wires free, scrapping the ends, and winding the wires tight on the bobbins. I'll use some thread to make cords for now. 
New rule. If I'm working on a necklace, there's going to be bobbins involved. No exceptions. This means I need more bobbins :/
Today's experiments have left me daydreaming about Ez Bobbins and VictorianGypsygirl's BEAUTIFUL sari ribbons. I would love to play with those and make things.. -sighs- Ahh, gotta love working on a tight budget!
 
If ya’ll have any thoughts or experiences working wire with Kumihimo, please let me know. Smile


Saturday, March 1, 2014

Book Review: The WireWorker’s Companion

Title: The WireWorker's Companion

Author:  Denise  Peck & Jane Dickerson

Pictures: 10/10
Clarity of Instruction: 10/10

Complexity: 2/10

Overall Score: 9/10 


The WireWorker's Companion..... was a lot smaller than I thought it'd be. When I first ordered it online, I figured it'd be roughly 9x12 the way most of the craft books are. Instead it's more like.. 8x5? It's not a bad thing at all, I just found it hilarious when I first got it.  It's a spiralbound book, and flips open sort of like a sketchpad, rather than a notebook would. I like that about it. I think it keeps it open better on my bench when I'm working. 

This is a really basic book, but everything it does cover, is done very well. It's basic wire work techniques. Things that are covered in the back of most of the step by step wire magazines. However. The photos are much better, and you can see everything that's done very clearly. It covers tools, types of wires, different things you can do with wire, and which wires work best for different applications. There's even a (SUPER) short section on fusing silver using a micro torch. :D 

My favorite things out of the entire book were actually the tools, charts and the reference section in the back. Since I'm self taught I learn about tools primarily from the books and articles I read. My newest one that I've learned about? A set of hole punching pliers. I admit, I'm astounded. I'm also miffed that my local craft store doesn't carry them. :( These specifically stuck in my head because of a project I"m working on, and I keep thinking how much easier the job would be if I had these, which is true. I just have to keep working as I have been though. :) The charts cover things like wire gauge, and different diameters that should be kept in mind when working with chainmail. The reference section is something I'm just starting to see in the Interweave books, and frankly I love it. They have 'further reading' as well as a list of places for where to get the supplies used in the book and the tools. Again, being self-taught, this makes my life so much easier (although I admit price hunting is still a pain!) 

I also really loved the tips. There's pretty much a tip for everything in the book. Just something small that makes whatever you're doing so much easier. My favorite one was one about tumble polishing. Apparently if you don't remove some of the oxidization from your jewelry before tumbling, it will be polished to a gunmetal appearance. I don't know about anyone else, but I think that's pretty useful! 

I think my two favorite things I learned from this book were the ideas of stamping my clasps, and how to do a proper wire loop. I know, I know, you're staring at my in disbelief right? I've known /how/ to do a wire loop and even a wrapped loop for ages. Something about the way it was presented in this book though, it made it so much easier to get them all the same I suppose? I must say, from what I've seen, my stuff looks much better now and I am very pleased by that. 

All in all, I definitely recommend this book, even if you're a master at wirework, I think it might be useful. 

Do you have any thoughts on this book? Feel free to comment below. :)

Wednesday, February 26, 2014

Count it All to Joy

At my church, there's a saying that we use a lot. "Count it all to joy."


This past week I bought three packages of polymer clay.  They were dry and crumbly, falling to bits in my hands after opening the packages. I wanted to get angry. I really, really wanted to.* When I was staring at my first ever batch of polymer, and seeing how dried out and crumbly it was, that phrase popped into my head.


I think this phrase could apply in daily life, regardless of personal philosoph. The good things and the bad things, if you try and find a way to look at them for their positive aspects.  So after stepping away from the desk and doing a bit of research on how to fix the problem (which I'll cover in our next post) I looked for the good things about it.


Sure, I couldn't immediately start making my pendants....But, I did get to get messy and really give my hands a work out. I got to learn something now, rather than down the road when I'm working on a deadline. I found that I kinda like reconditioning clay, and I might even like doing it with all of the clay I buy.


I couldn't have done that though if I hadn't chosen to look at it that way. I would've been angry and upset and grrrroar and I wouldn't have been laughing like a kid making a mess. So..I guess that's another step in learning and being a better crafter?

* (I won't say what brand, 'cause I don't really think it was the brand's fault.)

What about you? What could you to 'count to joy' and change your perspective?

Monday, February 24, 2014

Perils of Polymer Clay! =dramatic music=

At the  beginning of the month I came up with a really cool idea for a series of pendants that I'd like to do. The problem was, I couldn't make them in paper or wire. Oh no! What's a girl to do? I went hunting all over the net and found something new. Something that would give me the look I wanted, and (BONUS!) could let me use the alcohol inks I'd made up. What is it you ask? Ok, you're probably not asking if you read the title to the post. It's polymer clay! :D

But as I lay in my bed last week, doing research (pretty much the only thing I could do) I found all sorts of scary things. Crumbly clay. Conditioning. Half cured clay. Accidentally over-softening clay. Canes! Trouble with baking. The list goes on and on! Was I even going to be able to use this lovely medium, or would it scare me off before I could?

But then I bought some...and while I did have to recondition the clay..guys I think I'm in love. I'll talk more about it over the next week. ;) Feel free to share some of your horror stories in the comments below.

Friday, February 21, 2014

Confessions: Take Two!

Continuing on from the post on Wednesday, I'm bringing you geeky confessions from yours truly. Only this time, they're actually 'silly'. 

  • When I get a new book, I love the way they smell. >< 
  • I have a set of names I use for pretty much every video game character that I get the option to name. (Pokemon not included.) 
  • I will ask for people's firstborn children if they want to borrow my favorite book. Nevermind that I don't know what I'd do with them! ;) 
  • It doesn't matter if I have a stack of ten books at home to read, if you offer to buy me a book, I'll say 'Yes Please.' there might even be hearts in my eyes. 
  • The same cannot be said for my video games. I am ridiculously picky about video games, but I love the ones I have. 
  • There is no such thing as going to the library to get "Just One Book." It does not process in my head.

And there you go some geeky confessions about me. What about you? What's something geeky that you do? Feel free to post in the comments below.

Wednesday, February 19, 2014

Confessions

Today I want to talk about silly things. More accurately silly things I do  when I'm making jewelry.
It occurred to me (over this past week of being sick, my apologies on being away) that I do a lot of silly things when I'm at the bench. And they were so silly, I figured I'd share, because hopefully, I'm not the only one. ;)

  • I never seem to get even count Peyote stitch right. For reasons unknown I'll make five rows and then I just miss something. Somehow, I'll end up with a bead missing at the end and the whole piece gets chucked across the room. 
  • Ok, I don't really chuck unfinished pieces across the room. I just throw them down on the bench and stalk off like an angry cat. 
  • I always dive in at the deep end. When I'm learning a new skill, I don't start at the 'easy projects'. I go headfirst into this Super Amazing, Blow Your Socks Off Idea that I had at 2 am, without practicing the skill first. 
  • I then fail at said project, get really upset with myself and proceed to sulk....not that I tell anyone. I just sit and glare at my bench until I work up the nerve to try again.

See what I mean about silly things? These are things I'm working to change, and I figure the first step is admitting them and realizing that I do them, right?

What about you? What are some silly things you do?

Tuesday, February 18, 2014

Spring Hasn’t Sprung Just Yet


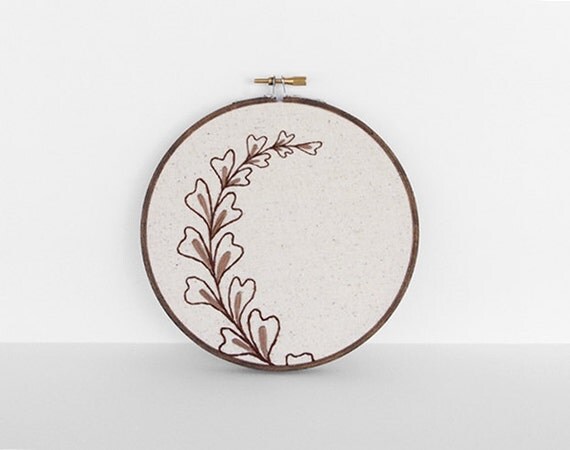
For those of us in the Northern Hemisphere, winter has been crazy this year, and it isn’t done with us yet. Since that’s the case, I put together a list of all sorts of plant themed things for around the home or office, to try and brighten things up a little.  They don’t need water or soil and bonus they look pretty! Some of it’s jewelry, some of it isn’t but for what isn’t, just consider it inspiration for things that could be. Winking smile 


First up, the picture that inspired this whole idea by AlwaysAprilAlayne.
I love how thick his beard looks, and the delicate shading she used.

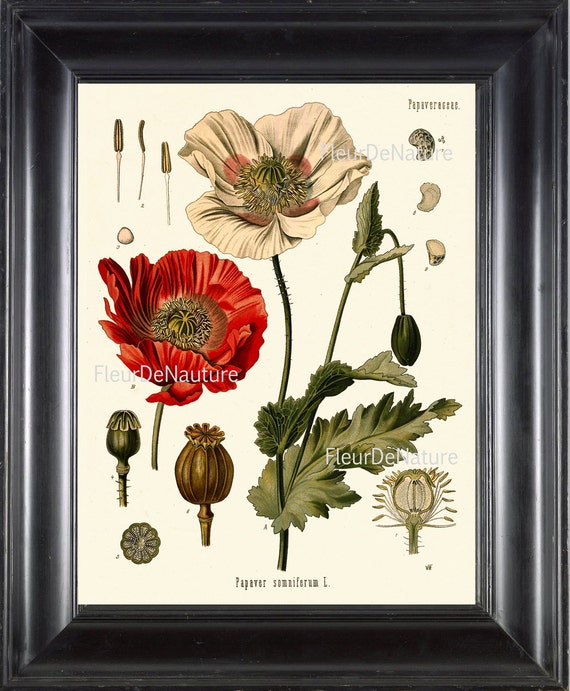
If hirsute men and flowers are not your thing, try this:  A reprint of a botanical sketch by Herman Kohler. FleurDeNature has several others in her shop other than this lovely poppy. (I picked the poppy because it’s just so vibrant.)


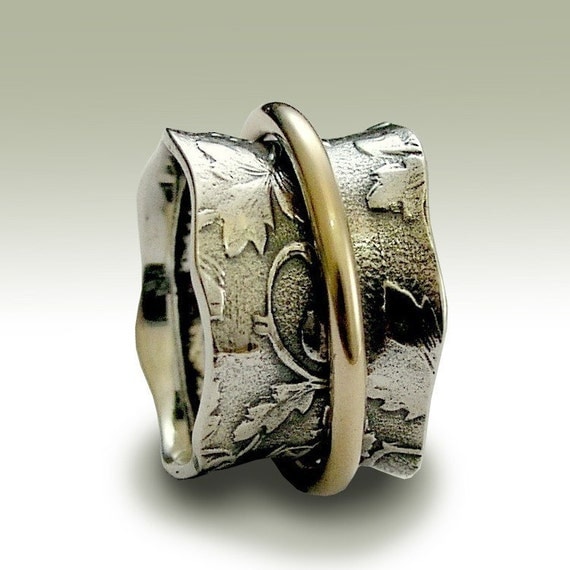
I’m always moving or fiddling with things so this ring really appeals to me. On top of that, it’s beautifully  textured and oxidized. While artisanlook does have many other stunning rings (many of them just as mobile) this one is my favorite. ^^

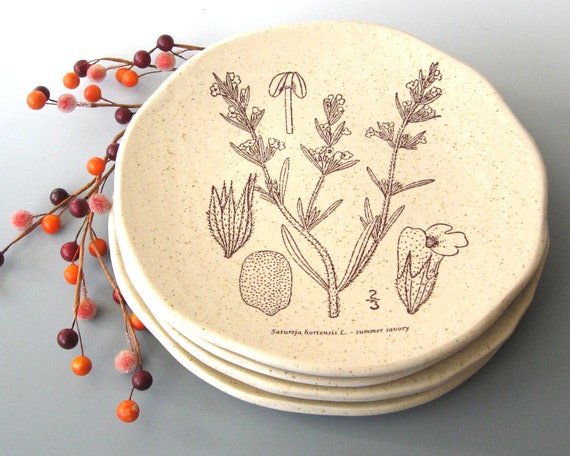
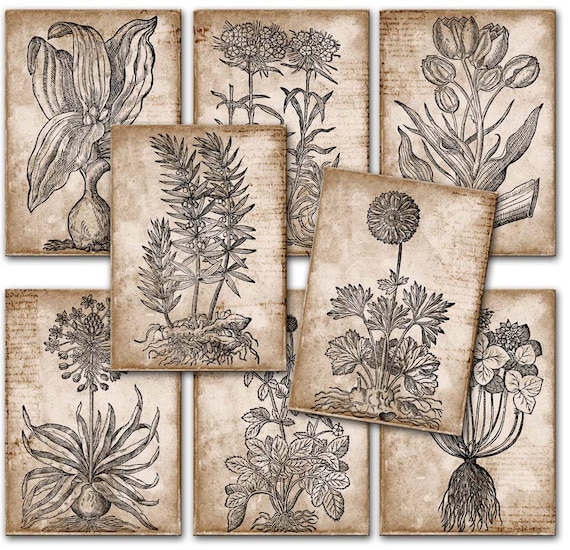
This organic plate set from JustMare would more than likely end up in my studio rather than my kitchen were I to order it. I love looking at botanical sketches, there’s so much you can come up with from them. Open-mouthed smile I also really like the speckled texture.


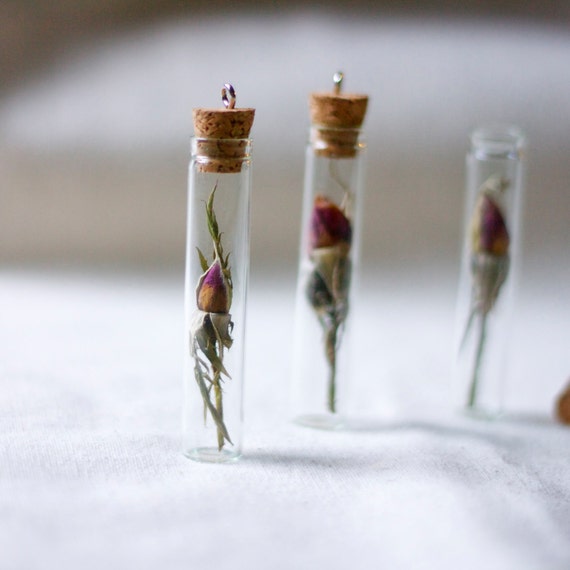
Some people, like my sister B, get very grumpy and despondent during the winter. Looking at this, I think would be a great way to carry spring around everywhere, all year long, right? From StudioBotanica


If you’d rather decorate with something a little more textured, try this out. From sometimesiswirl.


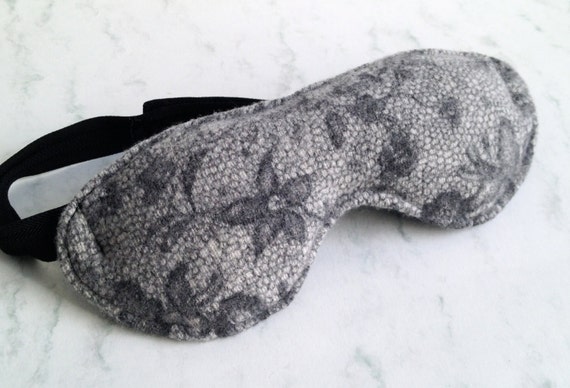
I don’t know about anyone else, but I love to nap. However, I don’t get to nap much because it’s always too bright in my bedroom during the day. (Thank you south facing windows..) I think this eyemask from SwoonCashmere with it’s pretty flowers and silk band would help. What do ya’ll think?

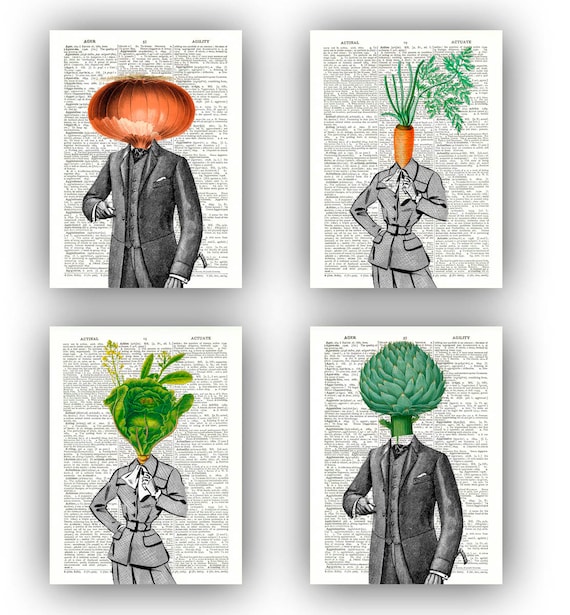
When looking up botanical things for the home, I found these. And I died laughing. I love the juxtaposition of the fancy dress (circa what 1890’s give or take?)  mixed with the vibrant veggie heads. From PrintLand


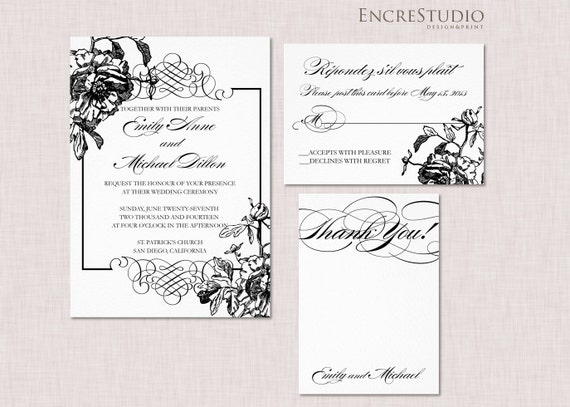
Getting married this spring? encrestudio


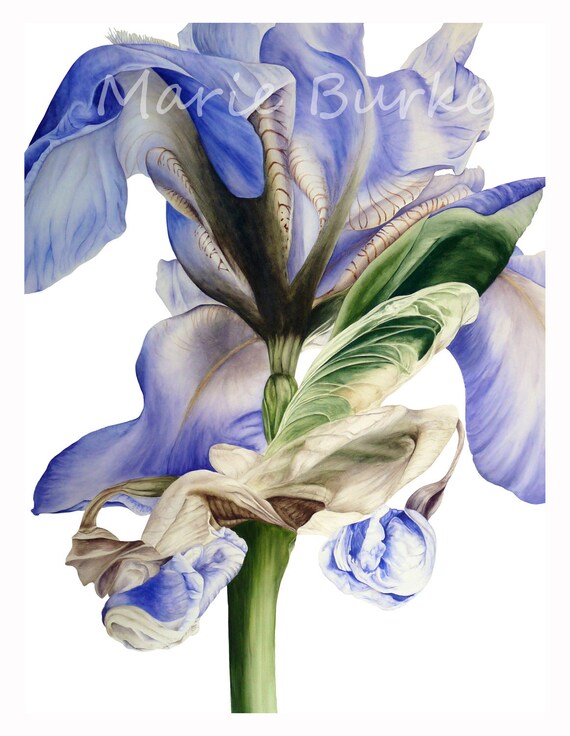
This super realistic iris painting from marieburke1 blew my mind when I first saw it. I thought it was an upclose picture at first. Nope, it’s a skillfully done watercolor. Can you believe it?


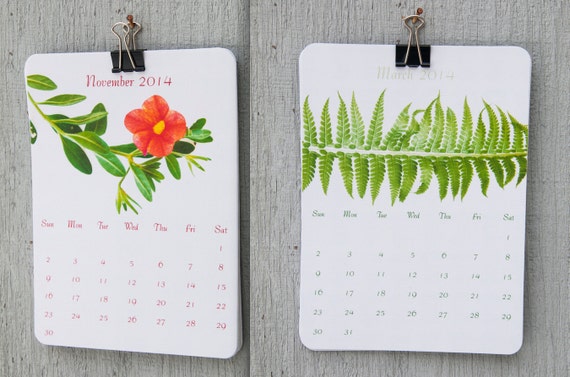
Something to make your office pop this year, a bright and vibrant calendar from MyPaperKittens! Open-mouthed smile (And really? That name is too cute.)

I’ve got family all over the country, and this seems like a great things to send out in the mail to cheer people up. Smile From MemoriesPictures

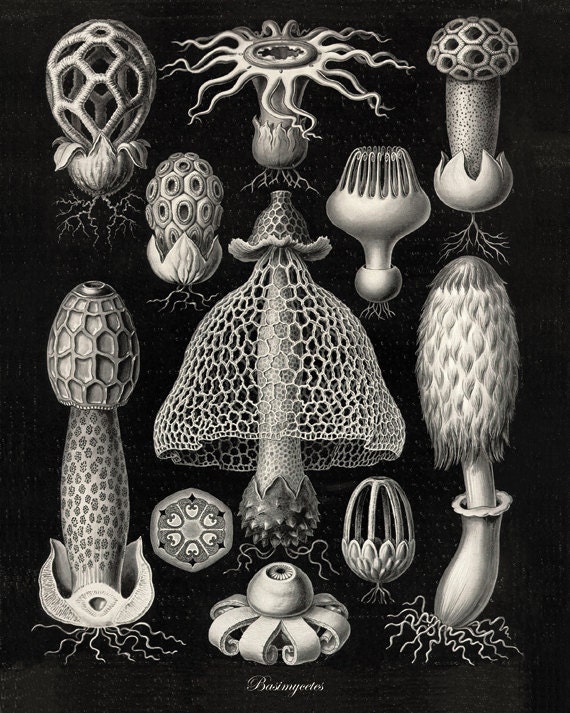
If you like the botanical prints, but don’t want flowers, this might be more up your alley. Exotic fungi and how they grow. Taken from a book published in Belgium in the 1800’s by AntiqueWallArt.


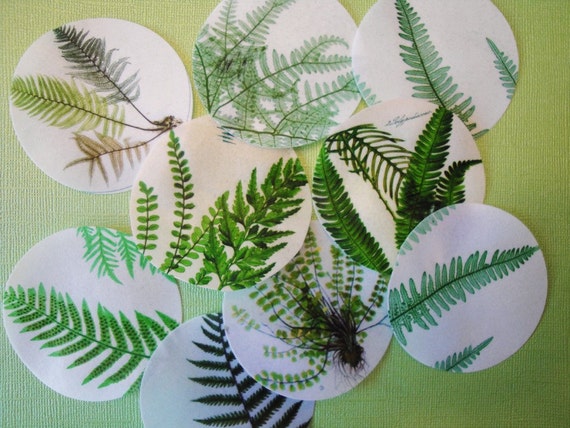
While normally I'm not one for images on my cupcakes, this would change my mind. So simple and already made. By QueenofTartsWafers

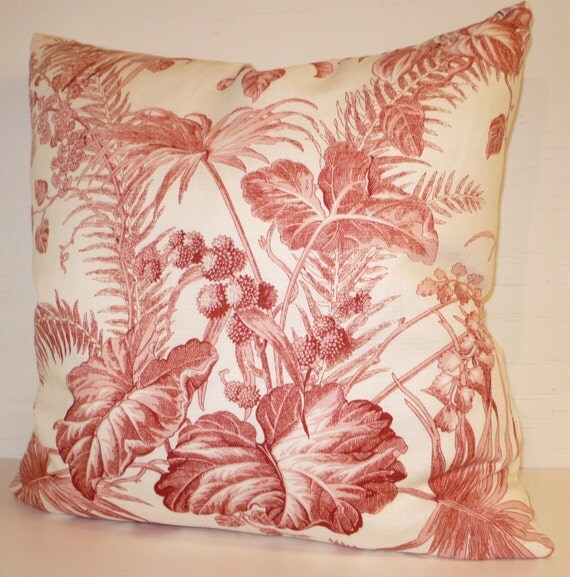
By LittleHousePillowCo


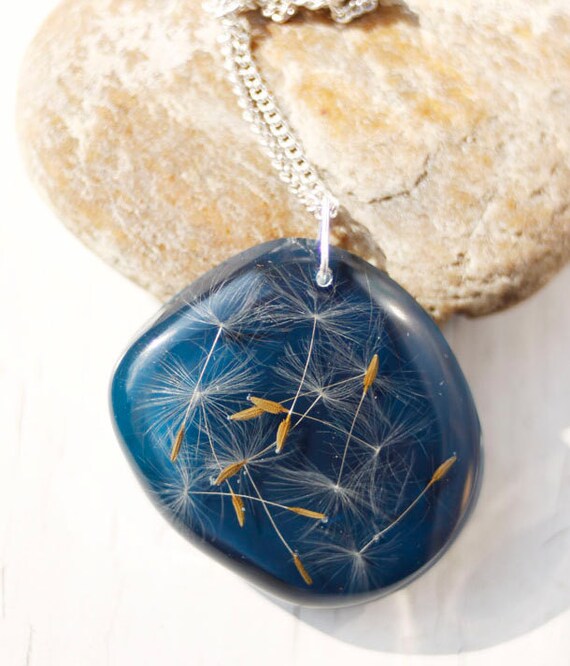
Made from real dandelions set in resin, this necklace by Safayet, just brings one thing to mind “make a wish!”


Like any of the pieces above? Feel free to comment below :D

Thursday, February 13, 2014

Video Game Rules

What I wanted to do today was share something that had made me laugh several years ago about video games. It was titled something along the lines of "Golden Rules of RPGs", and included "If it's shiny, pick it up." Sadly, most of my searching resulted in google giving me answers about shiny pokemon. While useful, not what I wanted. So I went hunting and found a few tropes that I thought I'd share instead.

1. If it's shiny, pick it up. (Come on, you didn't see this one coming?)

2. Always take the path of most resistance. It'll probably have something useful at the end.

3.   Is the building being destroyed around you? There'll always be a fireproof/destruction proof pathway you can escape through!  -coughSkyrimcough-

4. 1000 years- This is a frequently occurring date in RPGs. The Big Bad Evil either shows up every 1000 years or was sealed away 1000 years ago. Why? Does no one know how to kill them?

5. Every merchant in the world — even those living in far-off villages or hidden floating cities cut off from the outside world for centuries, even those who speak different languages or are of an entirely different species — accepts the same currency.

6. All- Terrain Party- This is just one that makes me laugh. No matter what weather conditions you're traveling through, your characters won't be affected. They won't faint in the hot desert, and they won't get frost bite if you go into a snowstorm in little more than their skivvies.

And our last one, rule number 7,

7. If someone tells you that you ABSOLUTELY, MUST NOT do something, go do it. It generally progresses the plot.

Have any other favorite rules/tropes? Feel free to share them in the comments.

** Some of these are taken directly from tropes.com I don't own those, I just borrowed them.

Wednesday, February 12, 2014

10 Things I’m Dreaming of…

Have you ever had one of those days, where despite your best efforts, you’re not getting much work done? All you’re doing is daydreaming. Or perhaps you’re working hard but a small “What if…”  or ‘If only….” pops into your head. That’s been me today. I came down with a killer cold, and now I’m up to my knees in tissues, scraps of wire and what ifs. I figured I’d share…the what ifs that is, not the yucky tissues.

  1. An assistant  (to get water when I run out, and take notes while I'm working) 
  2. A brick and mortar store. 
  3. Someone to deal with correspondence for me. It's not that I don't want to, I just hate leaving my workbench! Or at least someone to look over the correspondence in case I'm not making sense..
  4. A room specifically for my supplies. 
  5. Silver! I want so badly to work in silver...
  6. A huge stash of sari ribbons to play with. 
  7. A better torch would be lovely. (not that I have any issues with my baby, I just can't do everything I want to with a microtorch)
  8. A HUGE craft library. >< This would be heaven. 
  9. A full set of chasing and repousse tool. =sighs dreamily=
  10. A way to use super super thin copper! 

What about you? What are you dreaming of? Feel free to share in the comments.

Thursday, February 6, 2014

Valentine’s Day with Your Favorite Geek (Image Heavy)

How hard is it to shop for your favorite geek? Not all that hard, right? You just need to know what they love (and if they're a geek, they'll have told you) and go hunting. Luckily with Etsy, it's really that easy. While wandering through I managed to put together a collection of things that are both geeky and sweet.

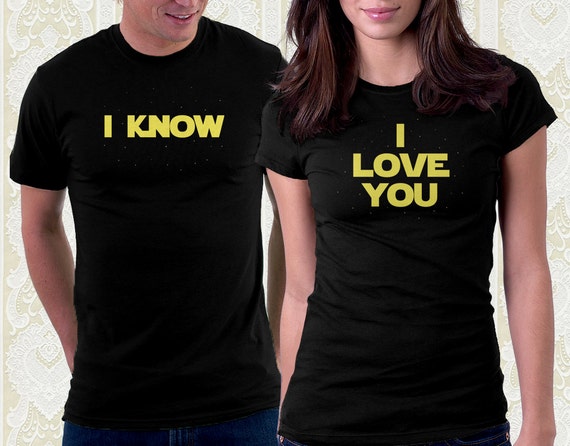
One of the most iconic lines in the movie for romantics, and you can find it just about every where on the internet these days.

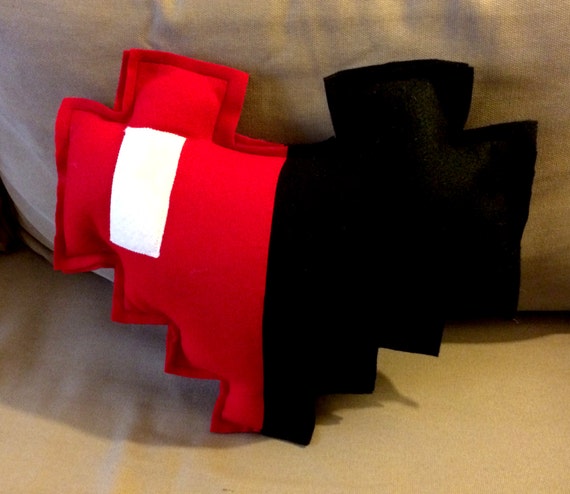
Recognizable to any Zelda fan, the Half Heart pillow. I can just see adding in a note 'You complete me.' or some such thing.

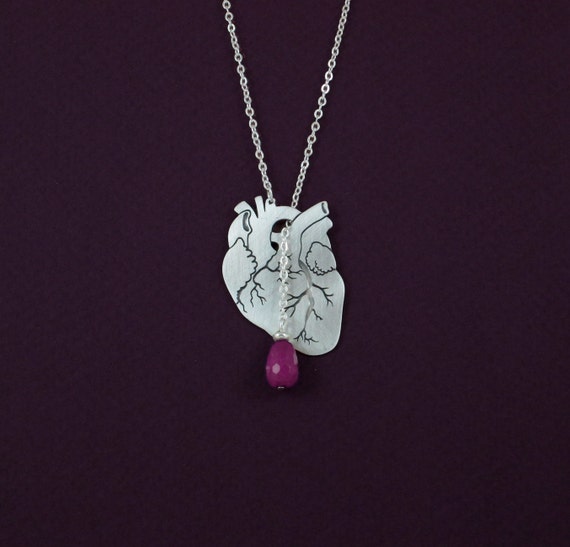
When I was in high school, I was all for weird and interesting ways to express loving someone. This anatomically correct heart is right up my alley.

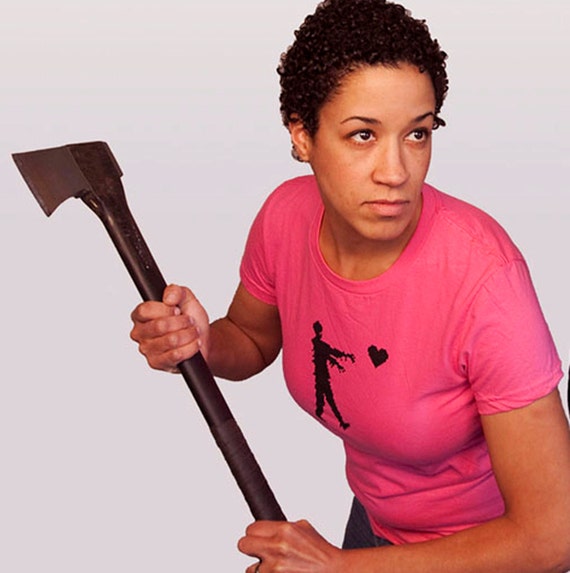
Everyone loves zombies right? Or is it supposed to be that the zombies are going to be eating your heart?

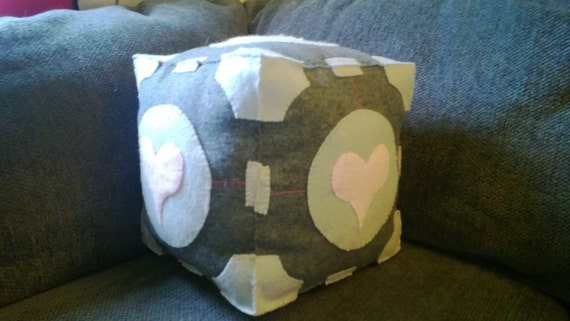
Does the Companion Cube really need any explanation?

While I'm not sure I understand what would classify as "nerdy" I have a few friends that would love this card.


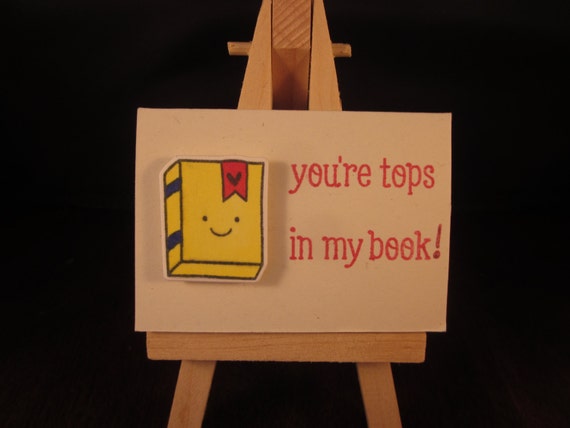
Mini-card for your favorite bookworm? I can easily see this being handed over in the cover of a book off their TBR list.


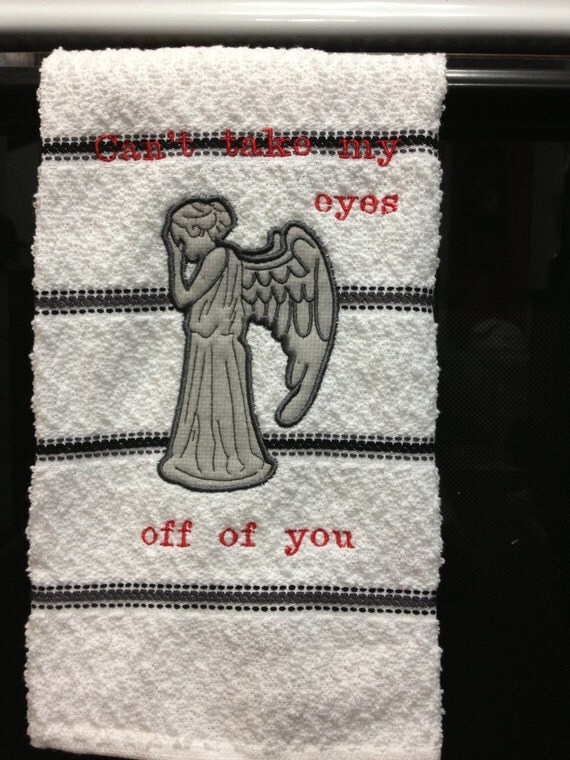
Hmm.. I'm not sure whether that's a good thing or not! ;) Makes me think about the one with a Silence and a Weeping Angel...

I think the description for this card says it best; "Remember that moment in Indiana Jones and the Last Crusade when Indy has to pick the Holy Grail out of a whole roomful of them, and the old knight smiles oh so mysteriously at him and says, "you have chosen wisely." EPIC. Now you can share that same moment with the Indy of your dreams, just to let him know that you've chosen wisely, too. ;)"

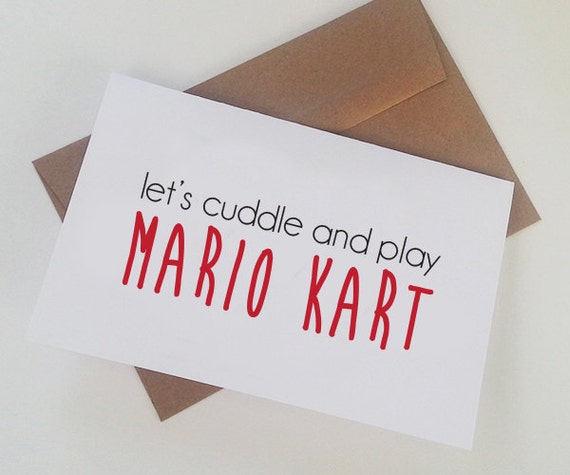
This one really appeals because you can truly personalize it. No matter what you and your favorite geek are into, this card is for you.

This one would have made it on my list just for general cuteness alone.

Little Spock looks so confused!

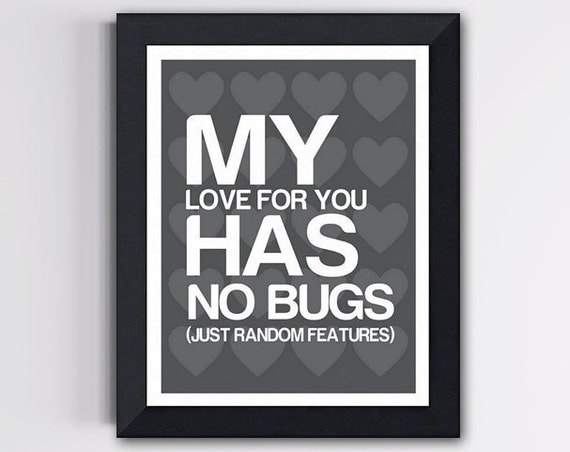
Since I 'm just learning programming, this one makes a lot of sense to me, and makes me laugh.

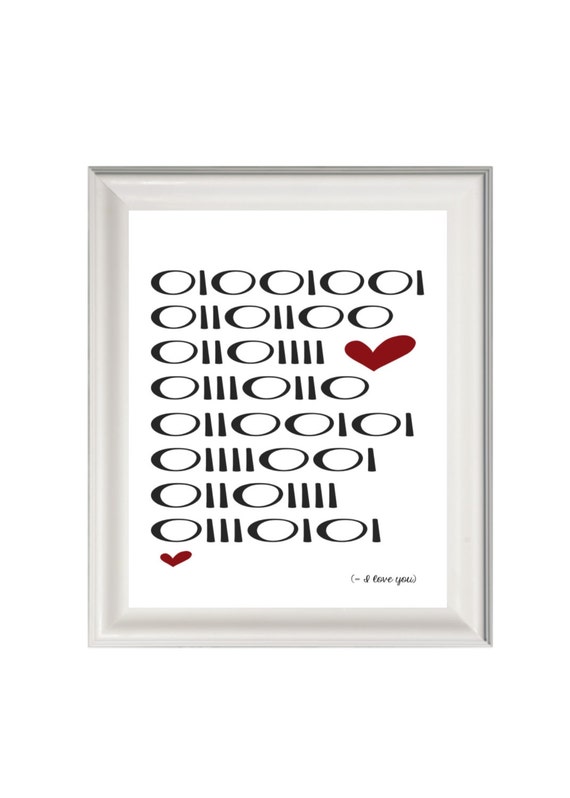
Usually I am hopelessly ignorant on internet fads and the like, but this one is just too hard to miss.

More programming love.

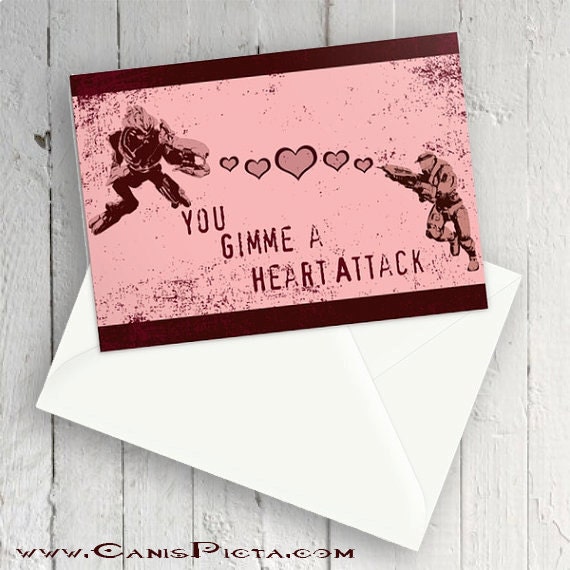
Maybe this will get him off Halo for a while? No? Yeah, you're probably right, but at least he'll love it.

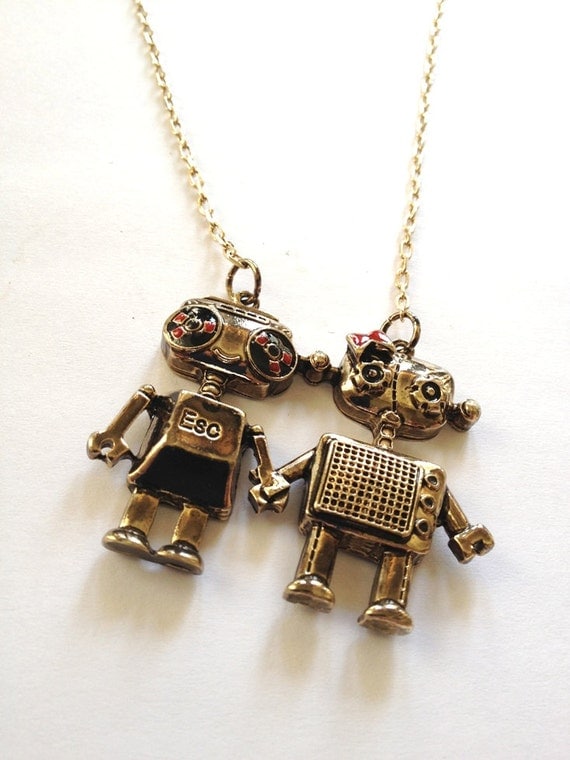
And rounding it out, an adorable pair of robot lovers.

Have a happy and geeky Valentines!

Saturday, February 1, 2014

Welcome Back!

When I had to take down the blog last year (wow that sounds odd) I had intended to have things back up and running, and posting regularly by the 15th of January. I even had this whole "Welcome Back" post full of snark and lovely goals.

Through various life things getting in the way though, that got tossed by the wayside, although I did make sure there would be a book review for ya'll.

This time, I'm back though, and even trying something new so that I can commit to bringing new content and ideas for ya'll, an editorial calendar. Full of jewelry, design, learning things, and the usual variety of geeky things as well.  I even have plans for a few regular posts, although the ATB will only be done every now and then ( was it just me or was it getting repetitive?) Instead, you can follow me over at my new twitter @GlassEternal where I'll post up thoughts and questions that pop up as I work. I'll also be posting up content two to three times a week, still with a healthy mix between jewelry and all things chic and geeky.

Last year was chaotic and an utter mess, this year will hopefully be better. Care to find out with me?

Book Review: Designing Jewelry With Semiprecious Beads

Title: Designing Jewelry With Semiprecious Beads

Author: Kim Gover

Pictures: 10/10
Clarity of Instruction: 2/10

Complexity: 2/10

Overall Score: 8/10


Hullo :) How are you doing today? Good I hope? Today's book is a book that, odd as it seems, just puts me in a good mood. Not because it's got super complex work, or deep insightful teachings on how to make jewelry. More because of the attitude of the jewelry it shows off. Let me start off by saying the pictures in this book are BEAUTIFUL! They're bright, they're colorful, and they're not too cluttered. The layout is superb and it's not a book that when flipping through it I get what I call "shiny glare' . (You know it, you go into a bead or gem show and after staring at everything for so long your brain just shuts down and can't absorb any thing else? Yeah, that.) Luckily this book doesn't do that :D

The most complicated thing in this book is a bit of wire wrapping. Other than that, it's a simple stringing book, with nothing too scary in it. The first third of the book is devoted to going over different stones that you can work with, if it's altered and what it does to it, if it can be passed off as something else, the relative price of the stones, and some suggested companions for the stone. The second half is about making a piece of jewelry for every stone listed, if not more than one.  Say you like the idea of amazonite? There's a beautiful combination of amazonite and rose quartz on page 68.   All of the designs are classy and fun, and vary in style design. 

While this isn't one I'd pick up for myself, if you're just getting started, or you need a good reference on stones, I would definitely pick this one up. 

Do you have any thoughts on this book? Feel free to comment below. :) 

Wednesday, January 15, 2014

Book Review: Jewelry With A Hook

Title: Jewelry With A Hook: Crocheted Fiber Necklaces, Bracelets, & More

Author: Terry Taylor


Pictures: 5/10
Clarity of Instruction: 8/10

Complexity: 8/10

Overall Score: 7/10

I will be completely honest and say that this book was not what I thought it was going to be. I had reserved the book from my local library, thinking it was about crocheting with wire. I admit, it had been a very bad day. I COMPLETELY missed the lines underneath the title saying 'Crocheted fiber necklaces, bracelets, and more".  Don't ask me how I missed it, I'm still not sure. ><  In my defense though, the library page didn’t have an image of the book.

So, if you're not like me, and that subtitle made sense to you, this book is entirely about making jewelry from fibers. It's not really my thing. But, since it is about jewelry, and I did bring it home, I figured I should review it. 

The pictures are clear and the models are lovely. The entirety of the instructions is in shorthand though, and I admit, it left me baffled. According to a friend who does crochet though, it's well written and makes perfect sense. There's even a section in the back that shows you how to do 'basic' techniques and explains all the abbreviations used in the book. I did try decoding it. For once my coding skills failed me miserably. I will be quite blunt and say that most of the pieces in the book look more like... well, centerpiece decorations than something you'd wear yourself. Then there are some pieces that look as though they can't tell whether they want to be scarves or necklaces. On the flipside though, there are pieces that I find quite lovely, if not something I'd wear myself. There's one that is a high choker done in a very lacy fashion, that when in black, looks stunning. Another is a fine chain done from a silver thread that would looks superb with a pendant strung on it. 

This is a book that has it's upsides and it's downsides as far as I'm concerned. I will say this though, if you already knit or crochet on your own, and you've ever wondered if you could somehow combine the two, this is the book to check out. 

Do you have any thoughts on this book? Feel free to comment below. :)

Thursday, December 19, 2013

Down for Maintenance!

Glass Eternal will be down for Maintenance for the rest of this month. We'll be back up and running, with a new look, layout and more interesting things come January 15th of next year. See you then, and have a Merry Christmas and a Happy New Year everyone!