Thursday, March 20, 2014

Pssst! Spring is Here!


SpringTut


Hullo ladies and gents. Guess what today is? The first day of spring! I don't know about anyone else, but I am soooooo ready to put away my winter coat.

I want flowers and green things, and NO MORE SNOW! 

Since I can't exactly request that Mother Nature hurry, I'll do what I can, which is, bringing you a post full of spring themed tutorials! :D

First up, wired flowers, done in the Victorian/French style.

Next up, earrings, you could whip these up in 5 minutes and head out the door to enjoy the sun shine.

Now to go with the earrings, you need a necklace.

or

or

daisy-chain-final

A daisy chain :D

What about some hair pieces?

http://jewelry-crafts.wonderhowto.com/how-to/make-delicate-beaded-hair-vine-for-weddings-375730/

What about if you like clay? Here you go, a basic how to on creating  flower cane.

Butterfly canes?

Flowers aren't the only thing coming out at this time, so what about something different? Birds!

Bird nest jewelry? TBH, I've never heard of it, but it sounds sort of fun.
http://voices.yahoo.com/unique-tips-tricks-steps-making-bird-nest-jewelry-11183060.html?cat=11 
No picture was provided for the one above, so I found  a video as well. Smile 

And to top everything off, Pantone's 'Colors of the Year'

They all look like very springy colors to me this year.
Have a good day everyone, and have fun. I am off to make some beaded flowers. :D

Comment below.


P.S.  Sorry for the lack of posts this week ya’ll. It’s been a very busy week, running hither and yon.

Wednesday, March 19, 2014

Mokume Gane- My way.

So I don't know if you've noticed, but the metalsmithing technique of mokume gane (literally 'wood eye metal' or 'wood grain metal') is popping up all over the place as a polymer clay technique. Once again, Pinterest is completely to blame for showing me this. 

First, some quick pieces that made me drool and started the itch to make things.


Looking at all of these, I think the biggest thing that makes them appeal to me is vibrant colors and contrast. I've seen plenty that should in theory work, the color palette looks nice on it's own. For some reason though, the resulting slices just never look nice?

In the event that you're now as interested as I am and want to try out making something like this, I'll give you a step by step.

1) Pick out your clay. I wouldn't choose more than 3 colors personally. Pick ones with a lot of contrast between them.

2) Roll each of these out to an equal thickness. If you have a pasta machine, I'd set it to medium , whatever that may be. (I rolled mine out to about 1/8" each at first.

3) Slice each of these layers into squares/rectangles. Now, layer those squares A, B, C.

4) Run over the top lightly with a brayer (or if you're me a copper pipe), until the layers are just stuck together.

5) Slice the entire thing in half widthwise. Lay one half on top of the other. Your pattern should go ABC ABC.

6) Repeat this once more. From what I've seen and what poking around I've been able to do, if you have more than 24 layers (give or take) you don't seem to get as much definition between the individual colors.

7) Now, grab a few things from around your workbench. Me, I've got a pen, a screw, a knife, and a wavy bit of heavy gauge wire. Stab the top of your stack! Stab it a lot ! :D

8) Now that you're done taking out pent up frustration on the block, set aside your tools, and squish the block back together, so it roughly resembles a rectangle/square again.

9) Take a floor stripper, tissue blade or x-acto knife and begin to cut away slices from the top, and set them aside. I used an x-acto and got lots of small, thin slices. If you're looking for a more solid slice, I'd go with a larger blade, a la the floor stripper or tissue blade.

10) Take your slices and turn them into jewelry or house decor, have fun!

At some point, I'll be taking pictures of my first set of finished pendants and plunking them in here for ya'll to see.  I hope you enjoyed this post, and the technique!

Feel free to comment below :D

Thursday, March 13, 2014

A New Way to Shop

Just a quick post today ladies and gents, I am so busy  running around today, I think my fingers might fall off.

So, for this month's first treasury I had chosen to go with a green theme (yay St. Patrick's Day) and I couldn't find the best way to go searching for things. Just as many posts with recycled materials came up when searching the word 'green' as did the color. I was weary and saddened, thinking I'd have to give up this treasury idea, until I found a lovely little tool Etsy put together. Shopping by Color.

O.O My mind was blown. It's beautiful! It's lovely! And it's fun!  I could just sit on the color chooser page running my mouse back and forth for ages playing with it. XD So if you're looking for something, and don't know anything beyond what color you want, or just want to have a little fun, I suggest going over and checking it out. It's on the left-hand side, Ways to Shop> Color.

My only complaint about this is that there doesn't seem to be a way to shop specific things by color. You get a random grab bag from all over the site.

Enjoy and have a good day everyone! I'll see you again soon. Open-mouthed smile

Wednesday, March 12, 2014

Alcohol Ink & Polymer Clay- A Guide-


Alcohol Ink Guide

As I mentioned last week, when I was recounting the perils of polymer clay, I originally started looking at polymer clay specifically for working with alcohol inks. I was first astounded by the lovely Veronika Sturdy over on Flickr with her work. It’s detailed and colorful and leaves me wanting to make LOTS of stuff!

And so I went hunting, to see if I could find out a) How to make my own alcohol ink and b) how to make something so vibrant and beautiful.

The first part was easy enough to find, over at Crafting a Green World, I read the tut, and quickly ran around my home looking for a bag of markers I’d stashed. Et voila! 30 mins later, I had a bunch of alcohol inks. But…. How do you use them?

Well, I found two lovely tutorials.

The first lets you make something like this

Except… you have to have liquid polymer clay. Which I don’t have access to for the time being… Hrm. Back to the internet. Which led to the second one.
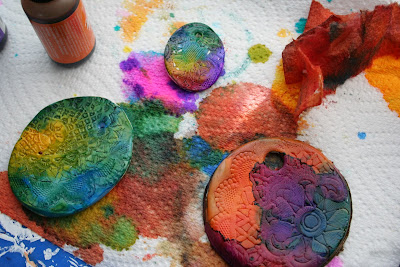
A very lovely tut, easy simple to follow, and best of all, only two things were required, and I had both! Polymer clay and alcohol ink. Open-mouthed smile 

But… It’s not quite as vibrant as the lovely ones that Veronika Sturdy attains…
So I decided to  do tests first.  I had to make sure that it would work.  And that is what this post comes from. My tests of alcohol ink vs polymer clay.

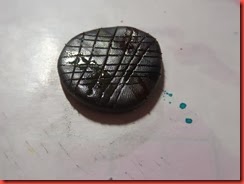
First up, we have Alcohol Ink, painted directly to UNCURED clay.

SAM_0529SAM_0531

I used the same technique for both the white and the black pieces. Just a simple stripe of the different colors, going around the piece. I tried to make sure they didn’t bleed, but wasn’t 100% successful.

SAM_0532ISAM_0533

The row below is the pieces after they were baked. The colors of the inks became a little bit lighter, but not by much. The black has an iridescent look to it, which is hard to see unless you get the angle just right, and even harder to capture on camera.
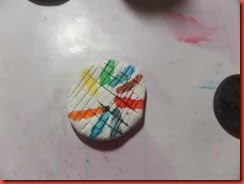
SAM_0534SAM_0535

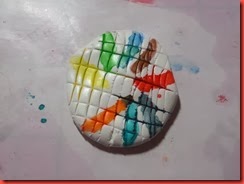
These next three photos are tests of CURED clay that was then painted. (The black ink didn’t change a bit, and I decided not to waste your time trying to see what wasn’t there. =sighs= I was so hoping for a beautiful black shimmer bangle…)

SAM_0536SAM_0537SAM_0538

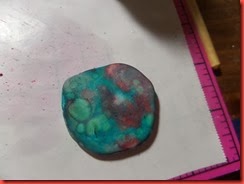
The first two are the same side, just with a wait time in between them. You can see how much more vibrant the colors are when done this way, but also how much more they bleed into one another through the groves O.O  The back is just a fun piece I did, testing out the splatter technique I see everyone doing on glass. Surprisingly it does work, but the colors are rather muddy.

SAM_0539SAM_0540

These last two photos are, believe it or not, taken just two hours after the first three. What happened? I was rubbing the pieces back and forth in my hands. Apparently without some sort of sealant the colors will rub away except in the deepest spots. Such as the groves of the piece on the left. However, I do like how the edges (?) are shown with the wearing away  on the right.


So, that is my tests on alcohol inks, and how they work when applied to polymer clay. I’ll be back with more soon enough. ^^

Ideas? Comments? Questions? Comment below Open-mouthed smile 

Tuesday, March 11, 2014

You Can’t Pinch Me!!

 
3141
Do you remember being in school on St. Patrick's Day and it being mandatory that you wear some type of green so that your classmates or colleagues wouldn't pinch you? I do! So, I'm helping out this year with a packed treasury of beautiful green jewelry  for every personality. 

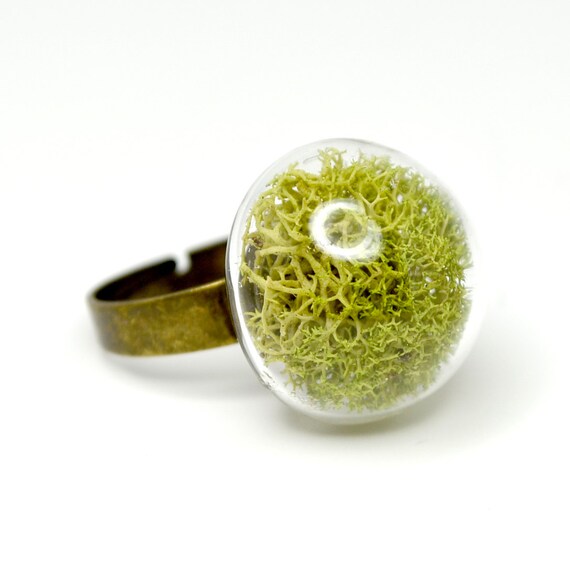
Oh my goodness. This ring is so cute. It makes me think of carrying a little bit of the forest around with you wherever you go. 

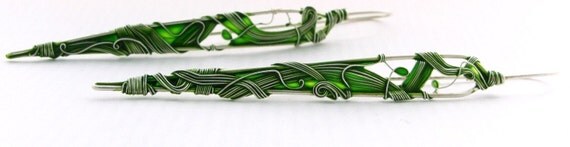
The enamel work on these earrings is stunning, and completely unique. 

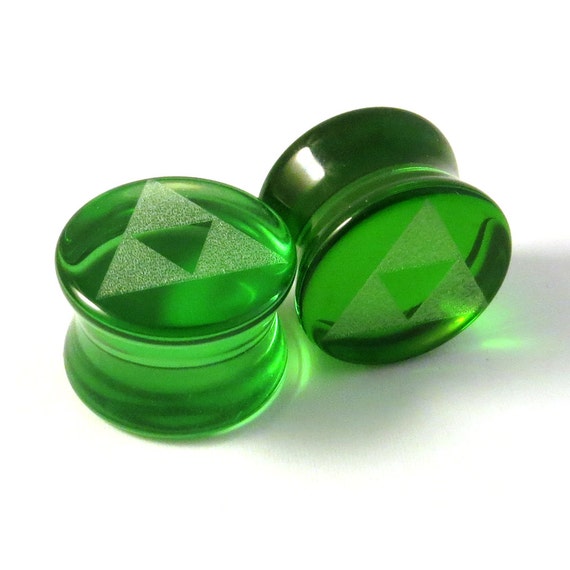
May the Triforce be with you.

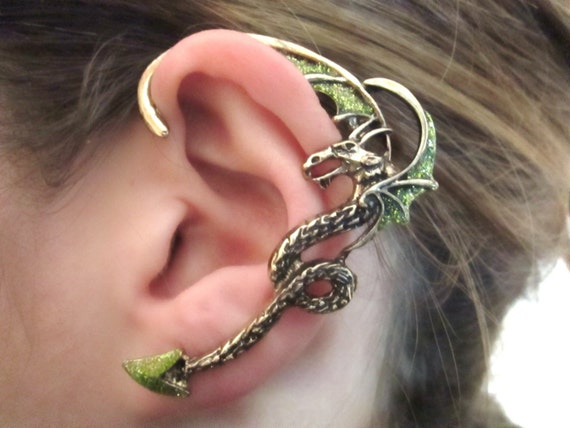
This ear cuff is terrific. I love ear cuffs in general, but this one you could carry a baby dragon around with you everywhere!

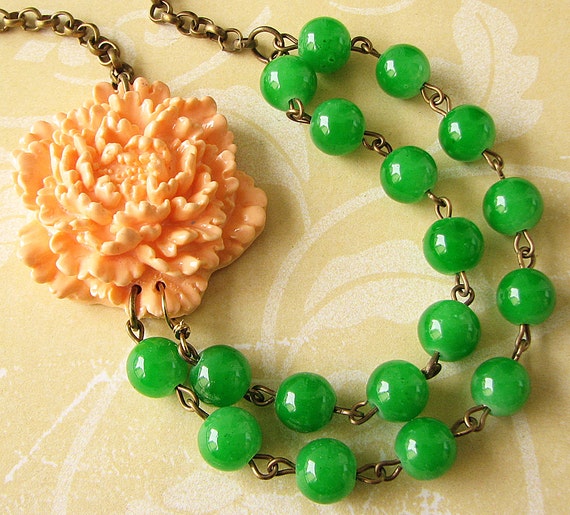
A stunning statement necklace, with lovely glass beads. I had to double check the listing on this one thinking they were jade! 

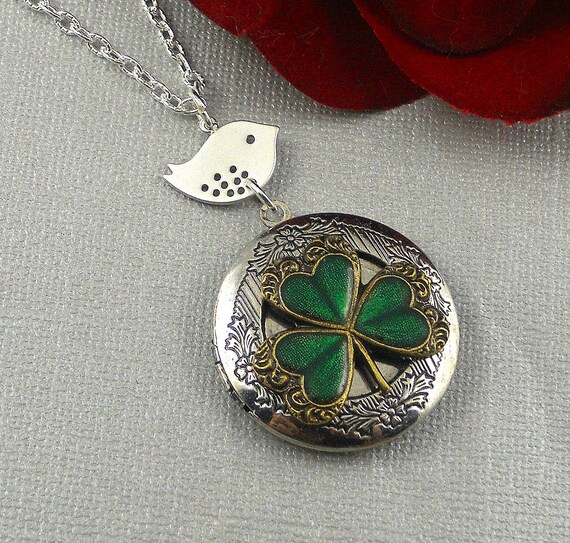
The little bird on this charm is so cute and the shamrock is so vibrant, it's a great combination. 

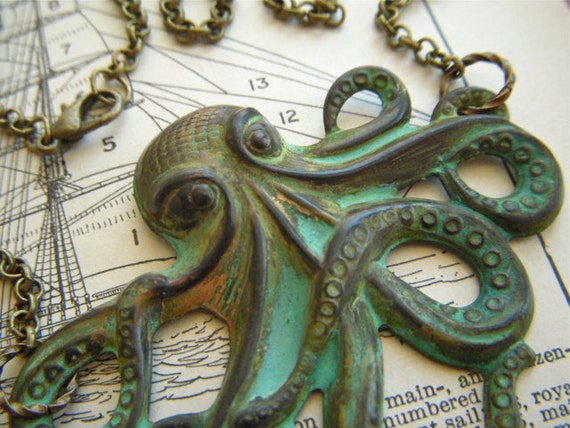
Verdigrised and looking like something taken from a shipwreck, this octopus is right up my alley. 

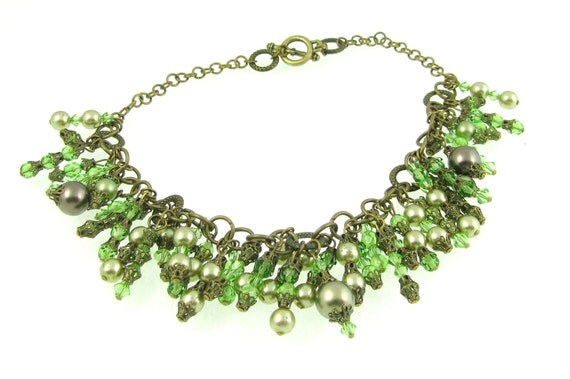
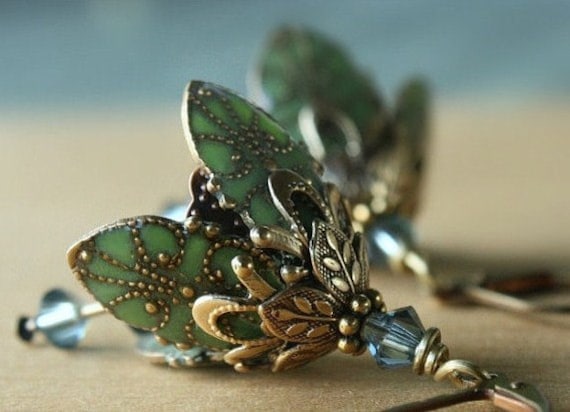
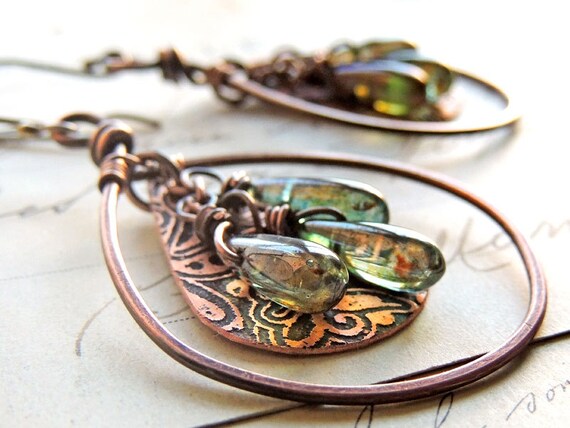
The layering and movement in these earrings makes them super fun. 

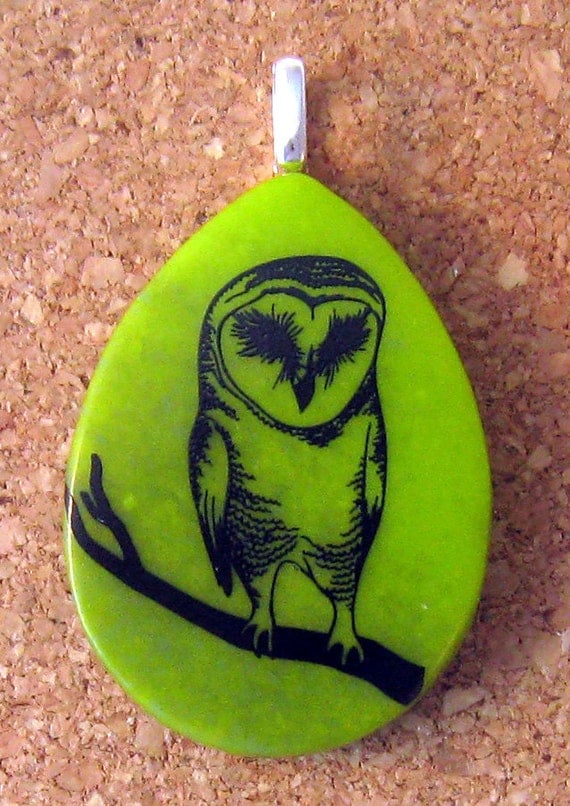
A different take on owl jewelry.

Another jingly and moving piece, this time, a necklace. :D  

Very simple and subdued, I love the look of this necklace. 

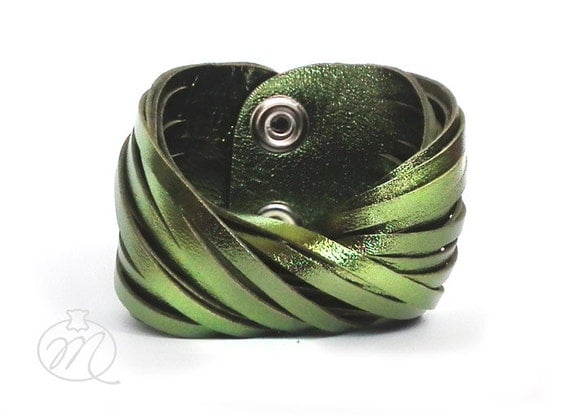
This bracelet would look great with a tight shirt, a pair of dark jeans and some kick butt boots. 

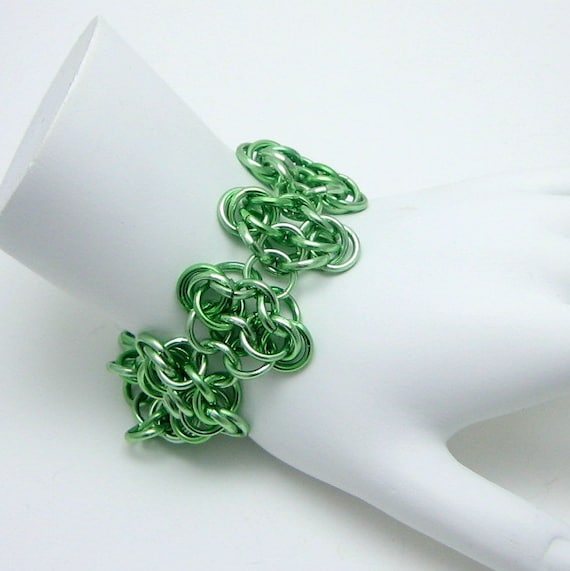
Another jingly piece of jewelry, a chain maile bracelet. Since it's aluminum, it'll be nice and light as well. 

Cute and chic, great for a little bit of glitz at the office or a night out. 

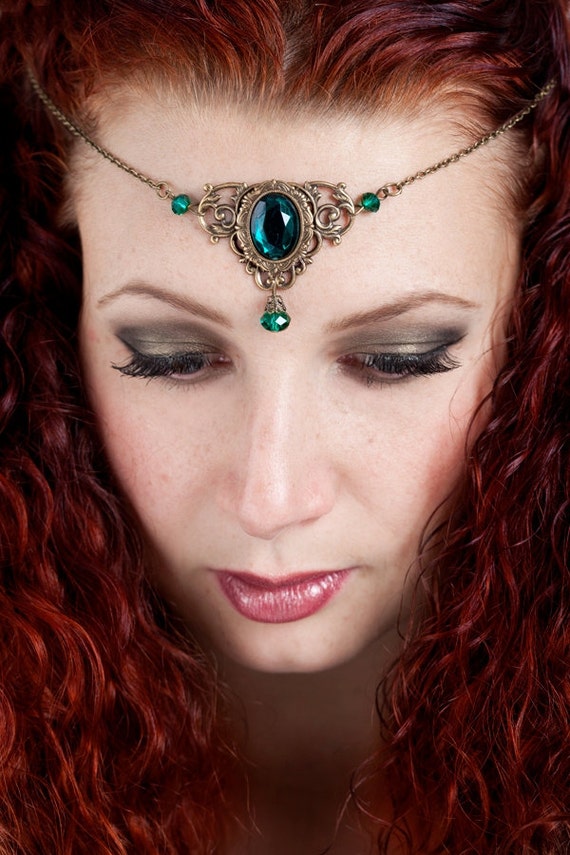
And we head to the other end of the spectrum with this piece, something stunning for a special evening. 

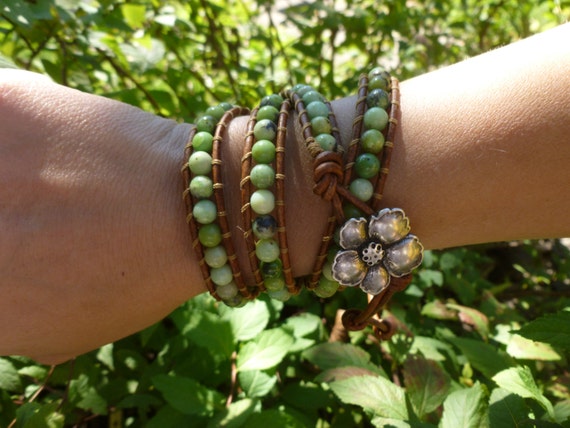
Green and earthy, leather and Serpentine make a great combination in my book.
And that's that folks! I hope you enjoyed browsing this lovely treasury with me, and we'll check out another one, later this month! :D 
Did you love a particular piece? Feel free to comment below, or click the pictures and head on over to the shops.  


Friday, March 7, 2014

Chronicles of Elantra

All over the internet, people are constantly looking for inspiration, and where to get new ideas. This includes yours truly. There are some days when   I can't step away from my notebook, for all the designs that are coming to me. And then there are other days when, I can't think of a blessed thing. So when those days happen, I go back to one of my old standbys. Reading, playing a game or watching some tv. Why? Because I get ideas from watching the characters. What personifies them? What would look good with this outfit they're wearing? i ask these things and the ideas start to come, even if they are still slow as molasses. It doesn't matter if I can make the pieces with the supplies I have on hand or not, what matters is that I'm coming up with designs.
Since that's the case, and I'm all for talking about geeky things, I figured I'd do a post every week with whatever I'm reading/playing/watching and the designs that came out of it. Why? Because it's good practice for me, and it could be fun to discuss it with others :D
I wanted to use  one of my favorite book series, the Chronicles of Elantra.
The first book is called Cast in Shadow, and it's a fast paced, head twisting novel that never ceases to amaze me.
(Go ahead and click the picture, you’ll get a great description of the book Open-mouthed smile)
This series is so..complex and layered that I end up finding something new every time I read it again. It's also been so well liked by friends that I've given away the first book three different times. T.T I still need to pick up a new one....
The good news about the series being so complex, is that every time I read it, I can spend some time figuring out new jewelry for the different characters in any given situation. So that'll be the post for next week, this week is just a sort of 'heads up' for something new coming ;). I'll be putting these up once a week, probably on Fridays and see how things go.
What do ya'll think? Sound interesting? Boring? Have some ideas for things I could design for? Comment below!


Thursday, March 6, 2014

Kumihimo and Wire

Next month's book review is going to be "Kumhimo with Wire" (I know, I know, I can't believe I'm telling ya'll early! ;) but this post doesn't really work without ya'll knowing.)  So as I was reading the book, I really, really wanted to try out some of the experiments in the book. This is the troubles and tribulations I faced while doing it. And boy are they a doozy!
My first thought was to try and use painter's tape and the copper pipes I have to wrap the wire around and keep them out of my way while I'm working. Yeah. That failed. The pipes were to heavy in comparison to the wire, and so the wire just sproinged off and made these beautiful slinkies that would've gotten tangled quicker than I could say 'Rapunzel'. 
So the next idea was to again use the painter's tape and adhere the wire to empty medicine bottles I use for bead storage... that looked like it was going to work. Until I put the board on my knees and again Sprrooing!  =sighs= 
Round three, Mia vs the wire. This time, I'm going to anneal the wire (as much as possible considering I've got the ends of the 8 pieces twisted together). Then wrap it around bobbins. Hopefully this will work. 
 So far so good, I've got the wire semi-annealed and wrapped around the bobbins, and I'm already making notes on how to better go about this next time. Unfortunately this takes so much fuel!
Once again I've hit a wall.
Unlike with thread, the wire doesn't want to stay next to each other, it doesn't want to be close to it's buddies and actually look like a cord. So I need to figure out someway to fix this. For now, I'm cutting the wires free, scrapping the ends, and winding the wires tight on the bobbins. I'll use some thread to make cords for now. 
New rule. If I'm working on a necklace, there's going to be bobbins involved. No exceptions. This means I need more bobbins :/
Today's experiments have left me daydreaming about Ez Bobbins and VictorianGypsygirl's BEAUTIFUL sari ribbons. I would love to play with those and make things.. -sighs- Ahh, gotta love working on a tight budget!
 
If ya’ll have any thoughts or experiences working wire with Kumihimo, please let me know. Smile


Saturday, March 1, 2014

Book Review: The WireWorker’s Companion

Title: The WireWorker's Companion

Author:  Denise  Peck & Jane Dickerson

Pictures: 10/10
Clarity of Instruction: 10/10

Complexity: 2/10

Overall Score: 9/10 


The WireWorker's Companion..... was a lot smaller than I thought it'd be. When I first ordered it online, I figured it'd be roughly 9x12 the way most of the craft books are. Instead it's more like.. 8x5? It's not a bad thing at all, I just found it hilarious when I first got it.  It's a spiralbound book, and flips open sort of like a sketchpad, rather than a notebook would. I like that about it. I think it keeps it open better on my bench when I'm working. 

This is a really basic book, but everything it does cover, is done very well. It's basic wire work techniques. Things that are covered in the back of most of the step by step wire magazines. However. The photos are much better, and you can see everything that's done very clearly. It covers tools, types of wires, different things you can do with wire, and which wires work best for different applications. There's even a (SUPER) short section on fusing silver using a micro torch. :D 

My favorite things out of the entire book were actually the tools, charts and the reference section in the back. Since I'm self taught I learn about tools primarily from the books and articles I read. My newest one that I've learned about? A set of hole punching pliers. I admit, I'm astounded. I'm also miffed that my local craft store doesn't carry them. :( These specifically stuck in my head because of a project I"m working on, and I keep thinking how much easier the job would be if I had these, which is true. I just have to keep working as I have been though. :) The charts cover things like wire gauge, and different diameters that should be kept in mind when working with chainmail. The reference section is something I'm just starting to see in the Interweave books, and frankly I love it. They have 'further reading' as well as a list of places for where to get the supplies used in the book and the tools. Again, being self-taught, this makes my life so much easier (although I admit price hunting is still a pain!) 

I also really loved the tips. There's pretty much a tip for everything in the book. Just something small that makes whatever you're doing so much easier. My favorite one was one about tumble polishing. Apparently if you don't remove some of the oxidization from your jewelry before tumbling, it will be polished to a gunmetal appearance. I don't know about anyone else, but I think that's pretty useful! 

I think my two favorite things I learned from this book were the ideas of stamping my clasps, and how to do a proper wire loop. I know, I know, you're staring at my in disbelief right? I've known /how/ to do a wire loop and even a wrapped loop for ages. Something about the way it was presented in this book though, it made it so much easier to get them all the same I suppose? I must say, from what I've seen, my stuff looks much better now and I am very pleased by that. 

All in all, I definitely recommend this book, even if you're a master at wirework, I think it might be useful. 

Do you have any thoughts on this book? Feel free to comment below. :)